


Welcome Back
Sign in to be closer to your community!
Follow other divas, like and comment
on their posts, message them, and see
who loved your posts!
 Login with Google
 Login with Twitter
OR
Join FashionPotluck.com
Create your own profile in order to create content, follow other divas and like their posts, use our own messenger, and be a part of a growing international women community!
Signup as a Community Member

WELCOME TO OUR COMMUNITY
Fashion Potluck -
the first social media
platform for women.
You are free to read/watch & create content,
express your true self, and interact with others.


TUTORIALS
Ways You Can Edit Your Photography!

Product details: Adobe Lightroom
 by
by 

Are you a content creator that edits their own photography? Do you use software such as Adobe Lightroom or do you tend to just throw on a filter from Instagram? As easy as it is to just throw on a filter, it actually can be more beneficial to you to actually learn how to edit your own photography!
I am a self-taught photographer and editor, and have been doing so with my work since 2017. Along the way I have learnt so much about editing my photography work using Adobe Lightroom and Photoshop. I want to give you three top tips on editing your photography to help your photos pop!
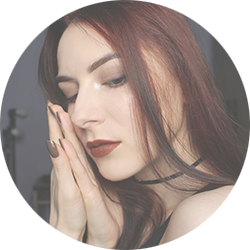
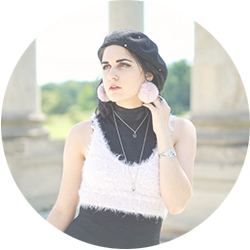
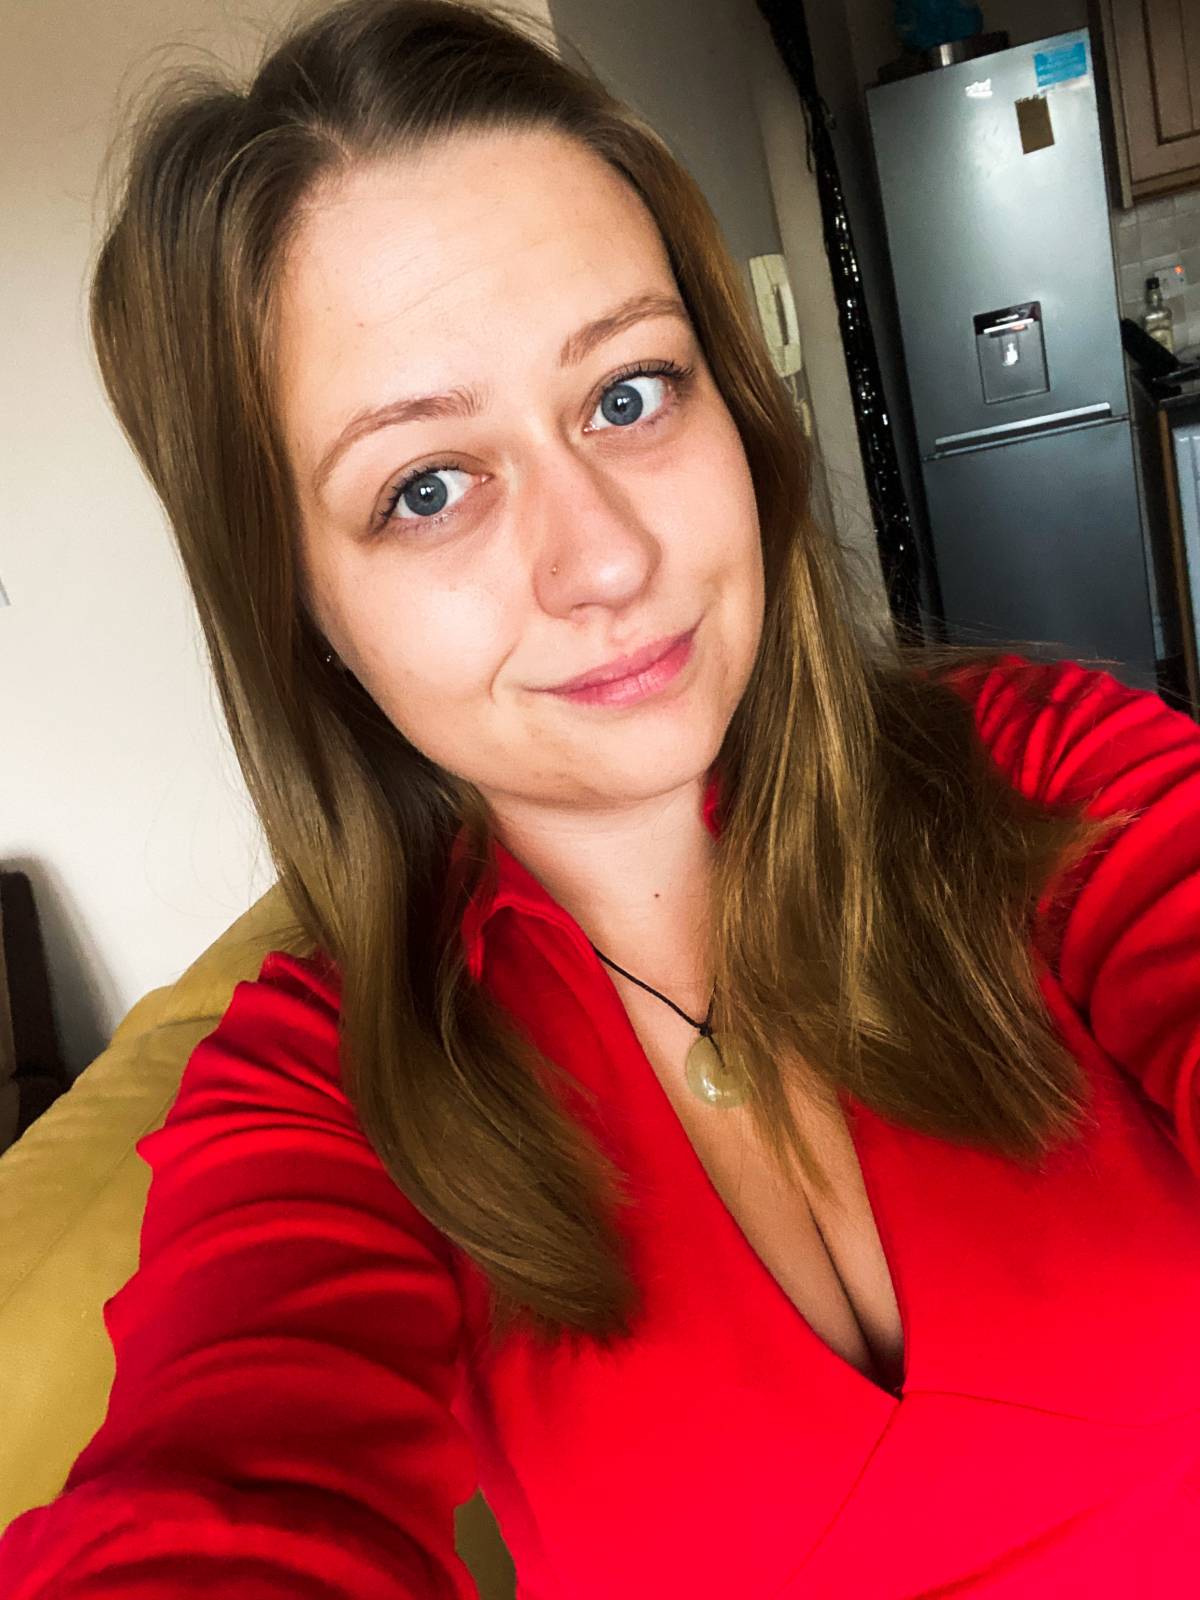
Before we continue, I want to mention that depending on how technical you want your images to be, determines which software I would recommend. If you want to be creating content with a huge amount of editing and effects (such as the images shown)
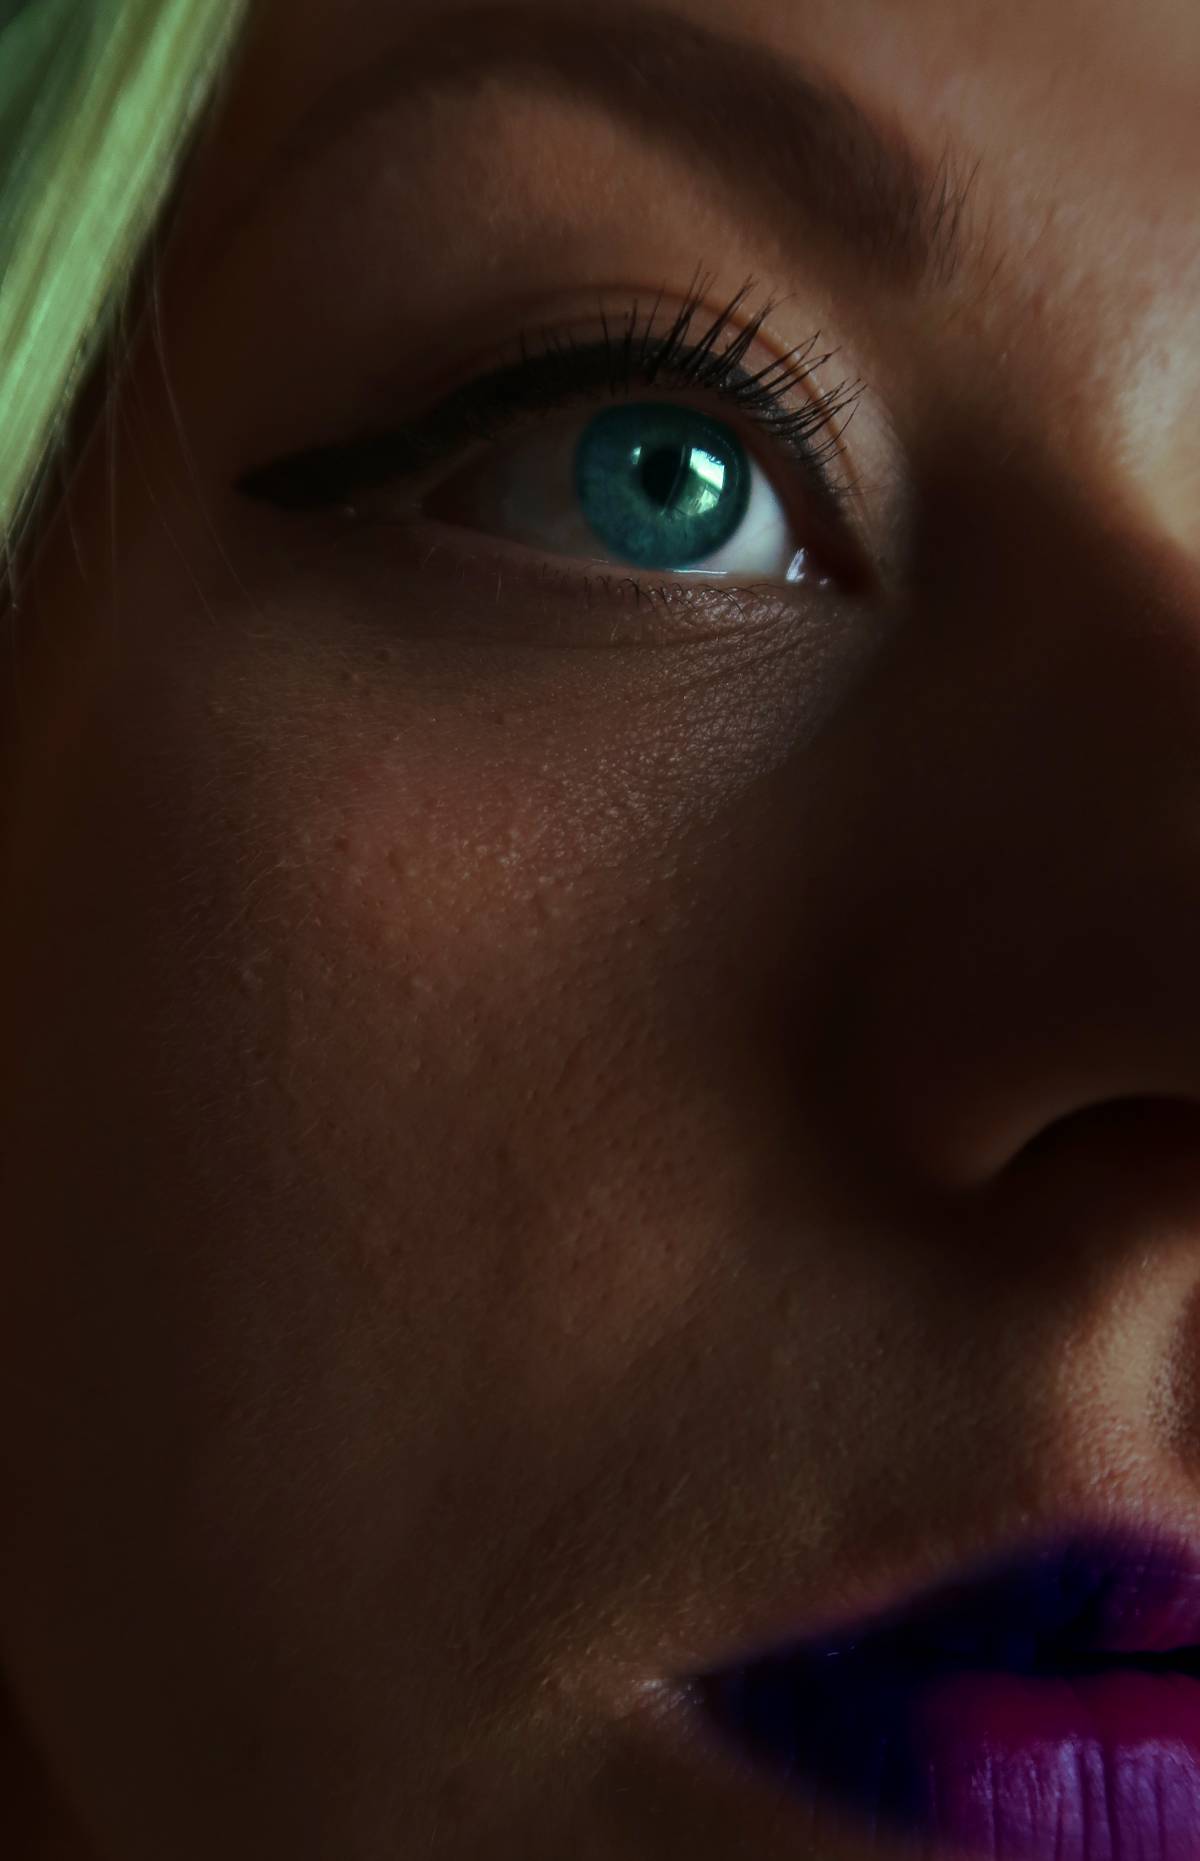
 where I have changed the colour of hair, the colour of the eye and the colour of the lips (left image) then you would benefit more from learning Photoshop techniques.
If you want to edit your photos so they are tidier and more stylised to suit you and your brand, then you would most likely be happiest with Lightroom. That's not to say you should never cross the two! I fully encourage working with both apps!
But for the purposes of this blog post, my tips are for Lightroom in particular but you CAN apply these tips to some features within Photoshop.
- Get to know the Curves feature.
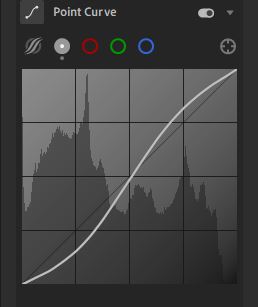
A nice typical formation of the curves feature that many people like to start off with is the 'S' formation. This darkens the shadows and brightens the highlights and gives you a fantastic place to start to adjust the lighting of your photography. And you can always adjust this further with the adjustment sliders above the Curves feature to give it a bit more pizzazz!
| Before ‘S’ formation | With ‘S’ curve formation |

2. Try adjusting the colour balance yourself.
One of my favourite things to do is to adjust the colour balance myself, usually this area is where you can set your white balance by putting the Dropper tool on a white/neutral colour to help even out the colours in the picture. But where is the fun in that? I find some of the most interesting images I have edited have come from adjusting the colour balance myself. The perks of letting the white balance set automatically is so you don't need to worry about configuring it in the settings of your camera, but there might be an occasion where you don't like the white balance that is given, and no matter how much you try to select a neutral colour to help correct the temperature, it sometimes doesn't work out to how you like.
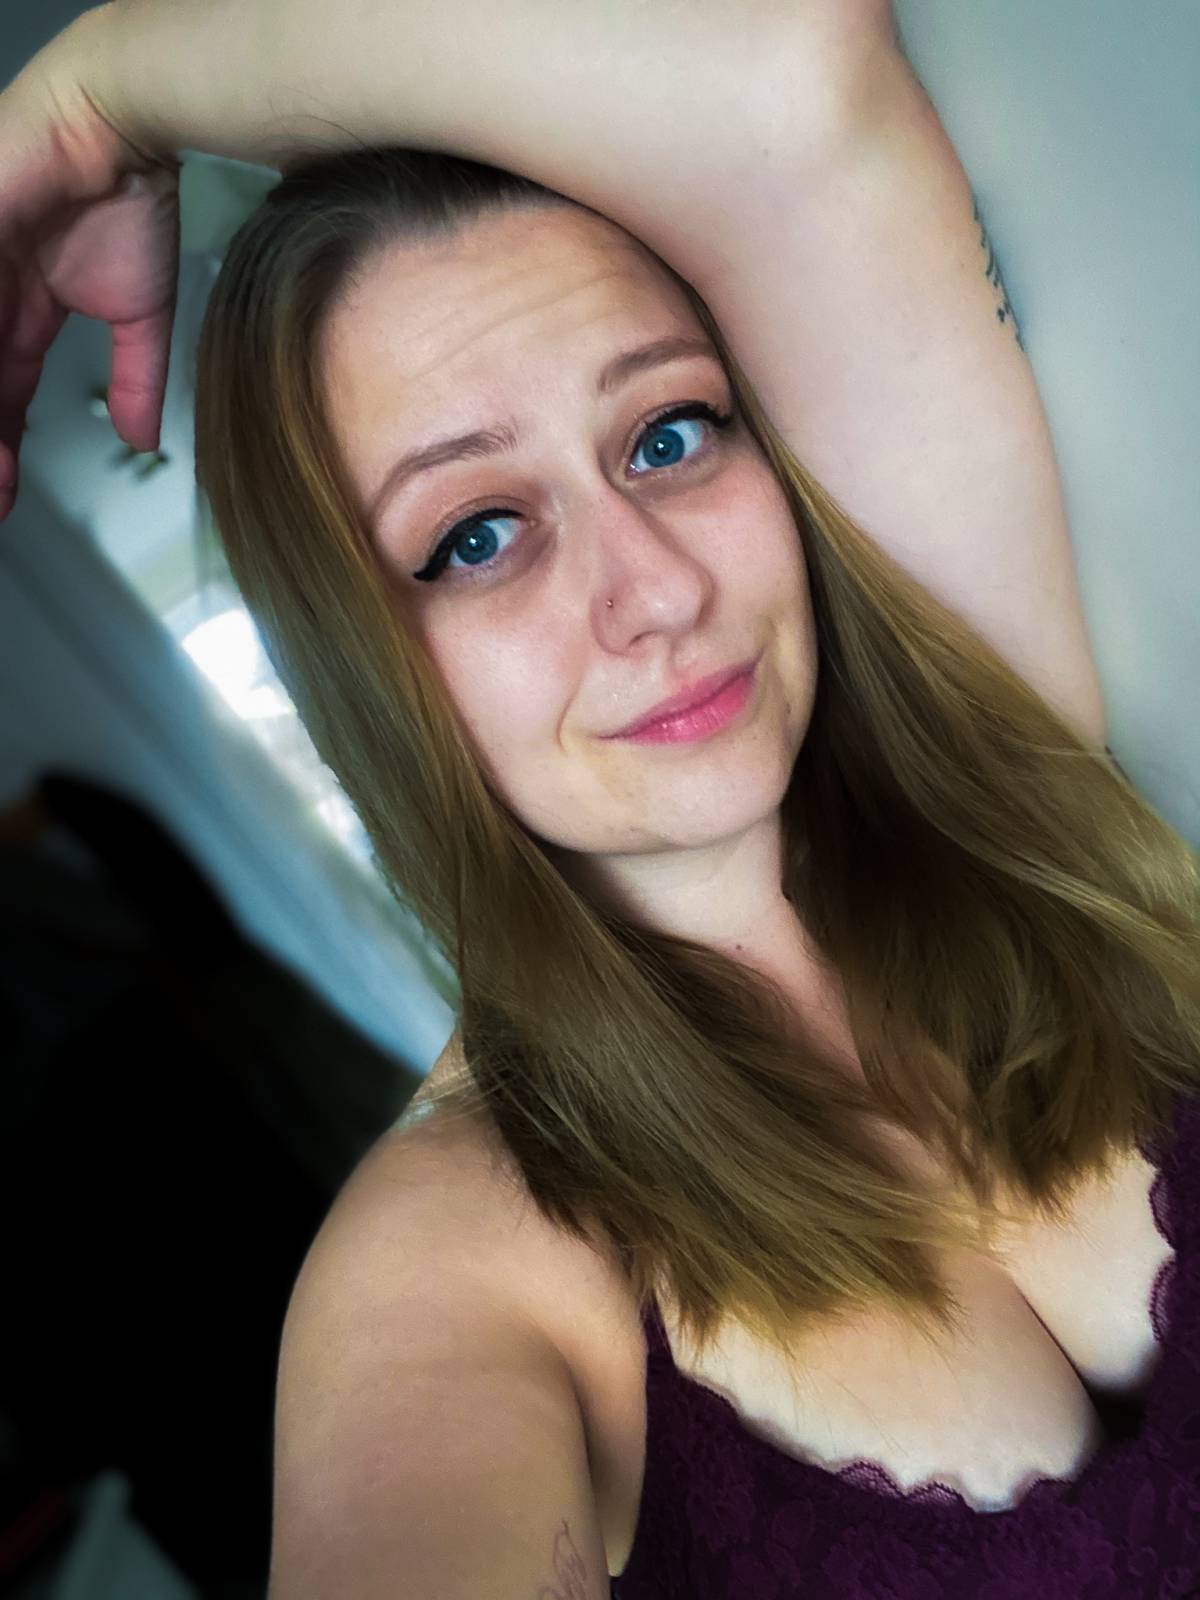
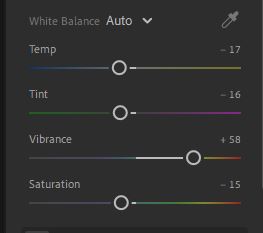
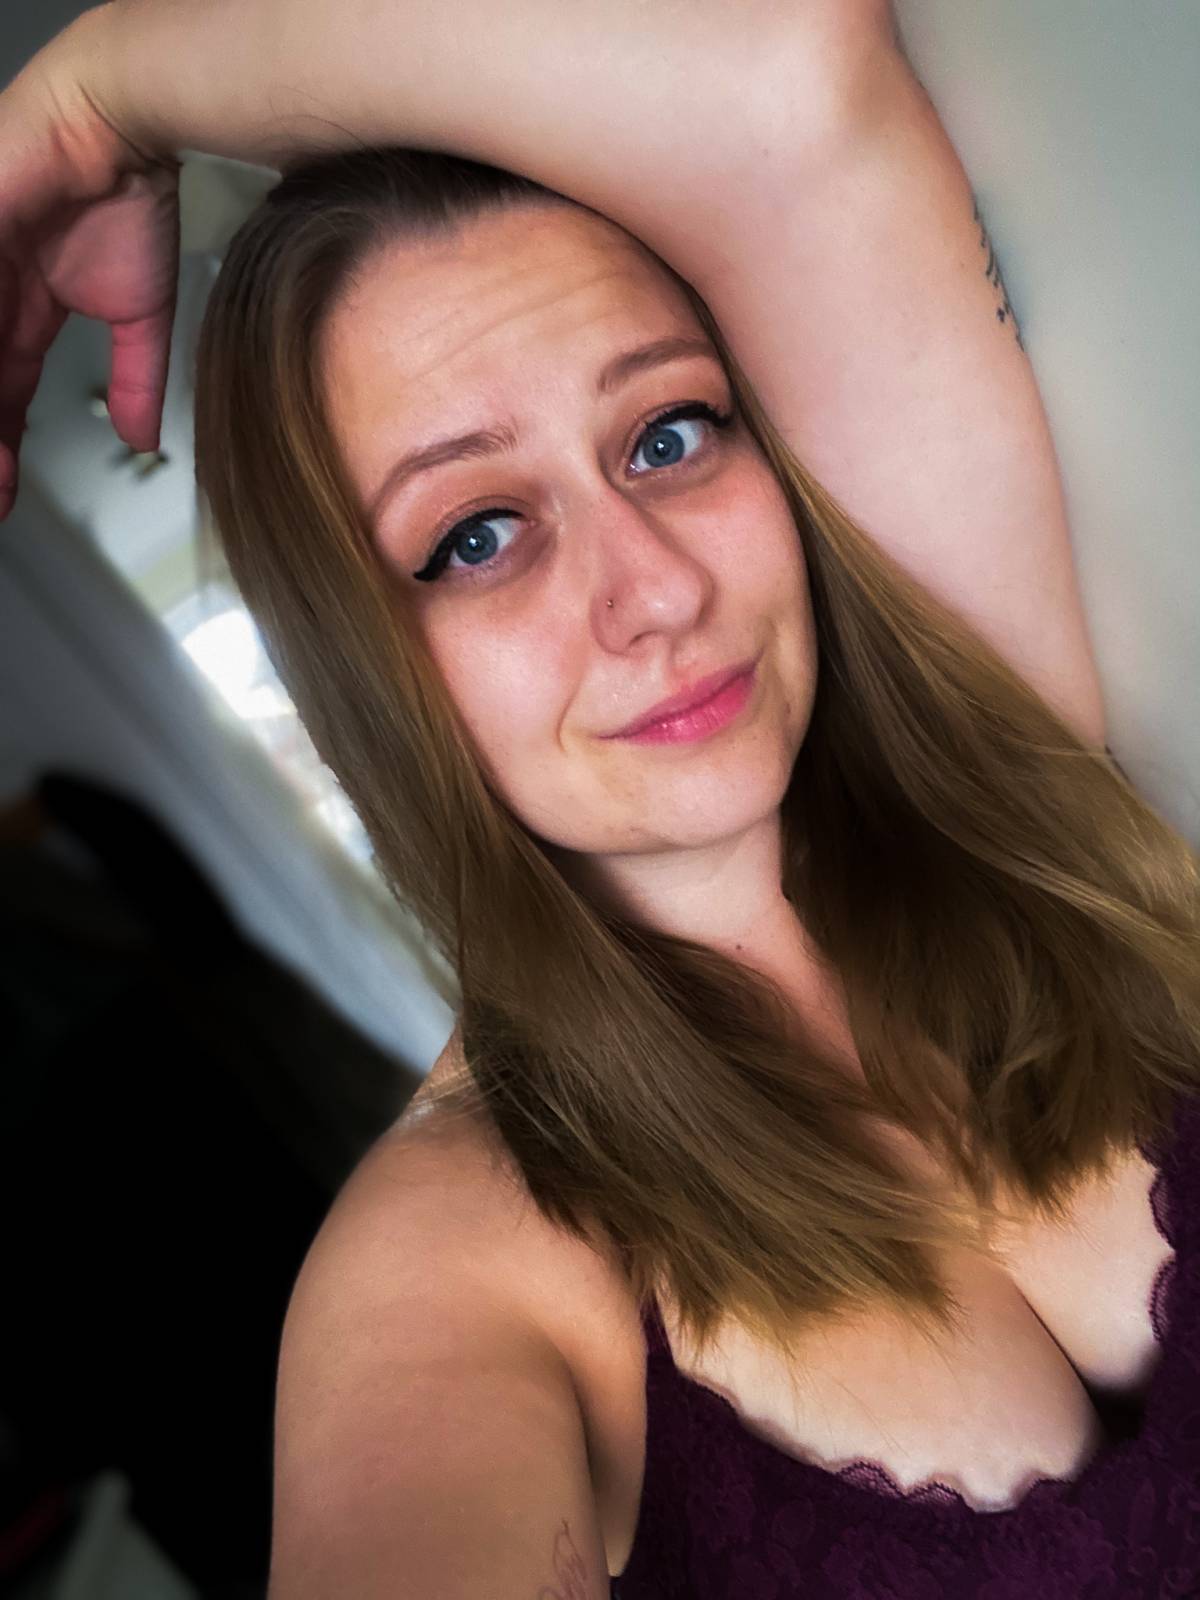
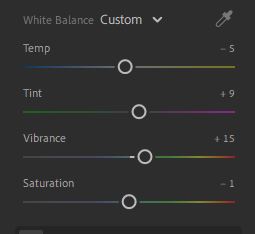
And with the same image, I altered the sliders myself. I personally wanted this image to feel warmer, so with that I set the temperature to be more central so it has tints of yellow/orange but not too much to overpower the image. I also lowered the vibrance down so it doesn't seem like the colours are popping TOO much. But even with the slight alterations you can see a massive difference in these examples.
3. Try adding some grain, or lowering the clarity!
A lot of people like to have their photos very sharp and clean, but what if you want to go for a vintage feel? Lowering the clarity and adding grain can make a recent image looking vintage in a matter of seconds. Perfect if you love vintage and like a vintage Aesthetic like I do!
 Here we have original image...
 And now we have the edited version! Now, don’t I just look like something right out of an old album?
Once you set your mind to what sold you want your pictures to look, you can then start playing around with editing tools to get that look that you’re after!
Until then, why don’t you take a look at my preset collection? All of the images in this blog post have been edited by me with using the presets I have created!
If you like what you see, then go over to my Gumroad page where you can buy my Jade Preset Collection for only £4.99 which gives you ELEVEN presets! That amount of presets is worth at least £10 and I’m selling them for half the price!
Head over to https://gum.co/JTFpresetco and grab yours now!
Until next time, Queens!
R xoxo
Words Minimum :
Add Comments